5 Troubleshooting Tips for Finger Bits
Kyle Cegielski

Kyle Cegielski
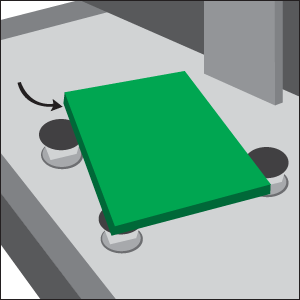
The first thing to do is ensure your vacuum cups are holding the piece down securely. One way to test this is by taking a hammer to a wooden block and tapping a test piece (NOT your actual working countertop) to see if it moves upon impact. You’ll know your vacuum cups are working properly if the test piece chips and/or breaks before it has a chance to shift position. If this doesn’t happen, you know you have vacuum issues, which should be addressed first.
Second, as you reduce the feed rate you must also reduce the RPMs to compensate. This is because finger bits operate at specified feed rates and RPMs to remove material effectively. Compared to softer materials, hard and super hard surfaces require more time to work optimally. By only changing the feed rate (and leaving RPMs constant), sooner or later the diamonds within the cutting segments will lose their sharpness. These “rounded-over” diamonds can in turn stop cutting and at times even pop out of the finger bit.
We suggest on hard materials, if you are normally running your finger bit at 12”/min and 5500 RPM, adjusting this to 6”/min 3500 RPM.
Here we face a similar issue as problem one, where by not having the correct feed rate and RPM, the diamonds (within the cutting segment) can lose sharpness, stop removing material, and therefore lead to the material shifting.
Do not be afraid to run your finger bit at its suggested feed rate and given RPM. Despite what some machine manufactures suggest regarding the desired spindle AMP draw, more than likely you are running the bit too slowly on generally soft and medium hardness materials.
For instance, at the Terminator CNC Training Center, we have excellent success running a finger bit on dense Black Galaxy at 18”/min and 5500 RPM, which yields a constant load of 37%. The real key here is to pay attention to the load, and make sure it stays constant, NOT climbing.
Also, it should be mentioned that the initial load, as well as small spikes up or down, are nothing to be alarmed about. For example, with the Northwood Machine we have operating at the Terminator CNC Training Center, so long as we are not in the high 40's percent-wise, we are fine – spindle absorption and/or AMP draw is usually a percentage of what the spindle is actually capable of using out of 100%. It is at this point and beyond, that we will have extended past the safe limits of our vacuum system.
Note, do not attempt this with a finger bit that has already exhibited problems. This must be done at the initial start, when the finger bit was placed into service on the machine.
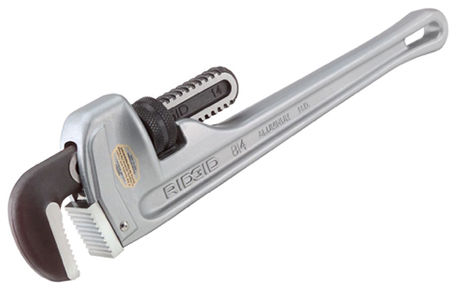
Finger bits are usually not tightened enough when inside the cone. And while the fit may feel snug, often times there is not enough torque being applied during the tightening sequence to actually stretch the male and female threads against each other, securing it properly.
Always utilize a tool that can deliver enough leverage to create the proper torque, usually around 110 ft/lb. Note, this cannot be achieved by using a small wrench. At Terminator, we strongly suggest the use of an 18” or longer pipe wrench. This type of wrench is excellent for gripping and biting into the finger bit body as you tighten - you’ll know you’ve done a good job if there is a mark left into the tool body.
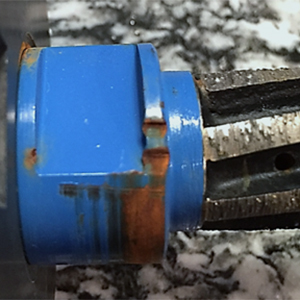
This is a problem that is usually caused by not having enough internal water passing through the spindle.
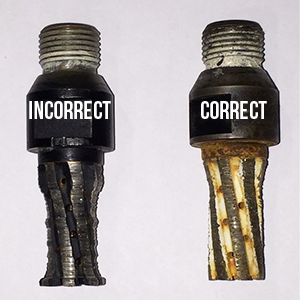
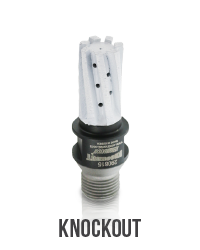
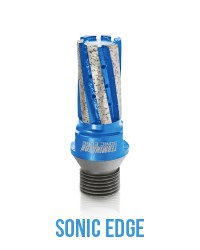
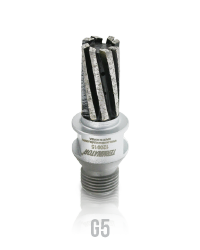
On traditional speed finger bits, such as the FB158S20, and those that do not typically exceed 12”/min, we recommend 2-3 gallons of water/minute. On high-speed finger bits, such as the KOFB40 and the ZFB40, we recommend 3-5 gallons of water/minute. Following these parameters allows all water holes within the finger bit to be completely filled by the same volume and pressure of water.
Additionally, the position of tool depth also plays a key role in how the bit wears. Make sure to position the material and cutting depth of the finger bit center-aligned with the water holes.

With the vast compositions, hardnesses, and varieties of stones on the market today, it should be no surprise that one tool will not work for every material.
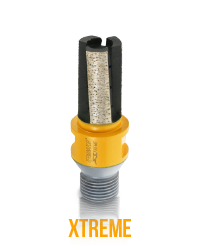
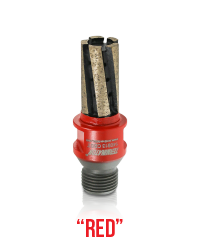
For the following classes/categories of materials, we recommend the following:

ALL CONTENT AND GRAPHICS WITHIN THIS DOCUMENT BELONG TO TERMINATOR® D.I.A. DIAMOND PRODUCTS. ALL RIGHTS RESERVED.
TO USE ANY OR ALL OF THIS INFORMATION FOR YOUR COMPANY, PLEASE REQUEST PERMISSION BY CONTACTING US HERE.